
🌵 Search azWoodman

📌 We participate in the Amazon.com Services LLC Associates Program, an affiliate advertising program designed to provide a means for sites like ours to earn commissions on sales generated by linking to Amazon.com and affiliated sites.
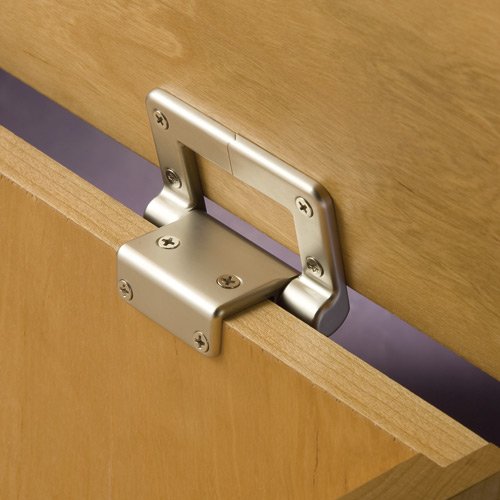
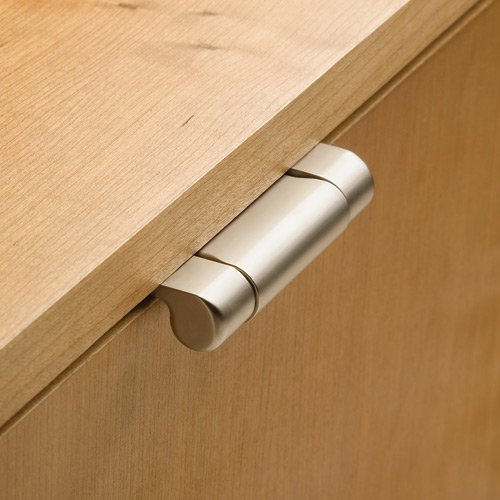
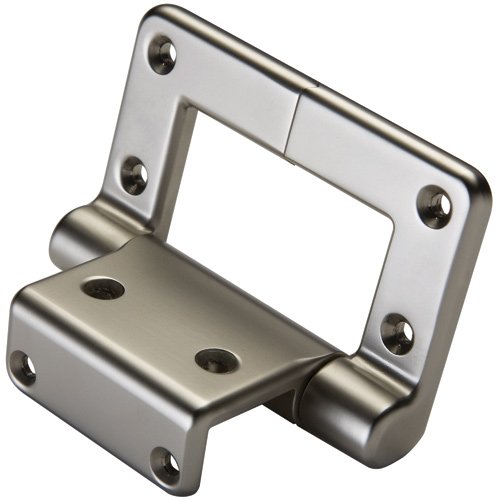
❈ Lid-Stay Torsion Hinge Lid Support

|  |
| These hinges feature an innovative torsion mechanism that is tested to 25,000 cycles to assure a long working life. Scroll down the page for installation instructions |
|

|
|
|
|
|


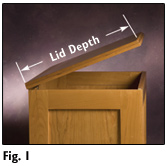
⦿ How many hinges do you need?Lid Depth (Fig. 1) x Lid Weight in pounds ÷ 2 = Inch-lbs. of Support For best results, choose a combination of hinges that provides as close to your lid's required support as possible (eg. if the formula returned 125 you would use two 60 inch-pound hinges). Hinges are available in 30, 40, and 60 inch-pound ratings. Note: If three or more hinges are required, the support-capacity of the outside hinges must be the same. Also, the hinge configuration should be symmetrical. ⦿ Installation instructions with JIG IT®
|
   |
📌 We participate in the Amazon.com Services LLC Associates Program, an affiliate advertising program designed to provide a means for sites like ours to earn commissions on sales generated by linking to Amazon.com and affiliated sites.